Basic usage guide
Warning
Please make sure IDK is installed and configured properly prior to going through this guide. If not certain, please refer to the Installation guide.
Starting IDK
Starting IDK is as simple as running a single command - idk up <type> where type is one of the supported integration types. For example, for a Video Content Catalog integration development run
You will see an output similar to this:
idk-content-catalog-router Done!
one-core-content-catalog Done!
idk-content-catalog-ui Done!
idk-content-catalog-bootstrapper Done!
Creating network "default-one-idk" with the default driver
Pulling mongodb (mongo:4.2)...
Creating default_content-catalog_1 ... done
Creating default_elasticsearch_1   ... done
Creating default_idk-ui_1          ... done
Creating default_mongodb_1         ... done
Creating default_bootstrapper_1    ... done
Creating default_kibana_1          ... done
Creating default_router_1          ... done

### IDK environment URLs ###

    - IDK - Admin UI: http://localhost:33037/
    - Kibana: http://localhost:33037/kibana/
Info
Initial startup can take longer period of time due to additional downloads performed.
Accessing the UI
IDK comes bundled with a simple UI to help you setup, test and debug your integration. Upon startup, you will see a direct link to the UI as part of the output from idk command.
Navigate to the URL and you will be presented with a simple via similar to the one below
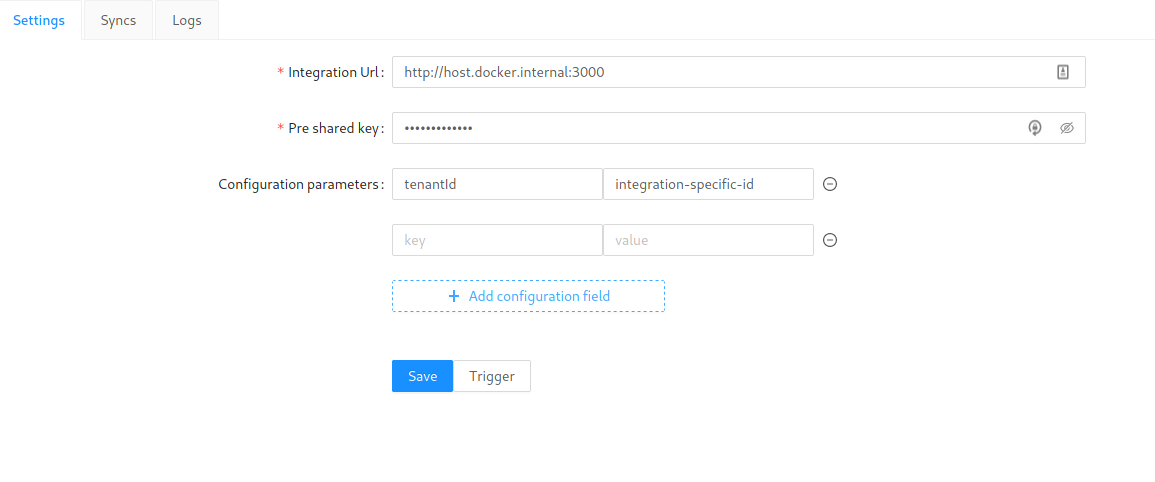
In this UI you are able to provide URL of your integration, Configuration Parameters, trigger integration and more.
Info
Please note, depending on machines configuration and operating system, it may be required to use network IP of your machine instead of http://host.docker.internal for integration URL
Stopping IDK
In the initial version we only support full shutdown of IDK environment with idk destroy <type>, however Pause/Resume will be added in the future.
` $ idk destroy content-catalog